How often do you come across a stuck auger? If you are like me, then you probably don’t even realize that you’ve encountered such a problem until you try to remove the auger from the ground.
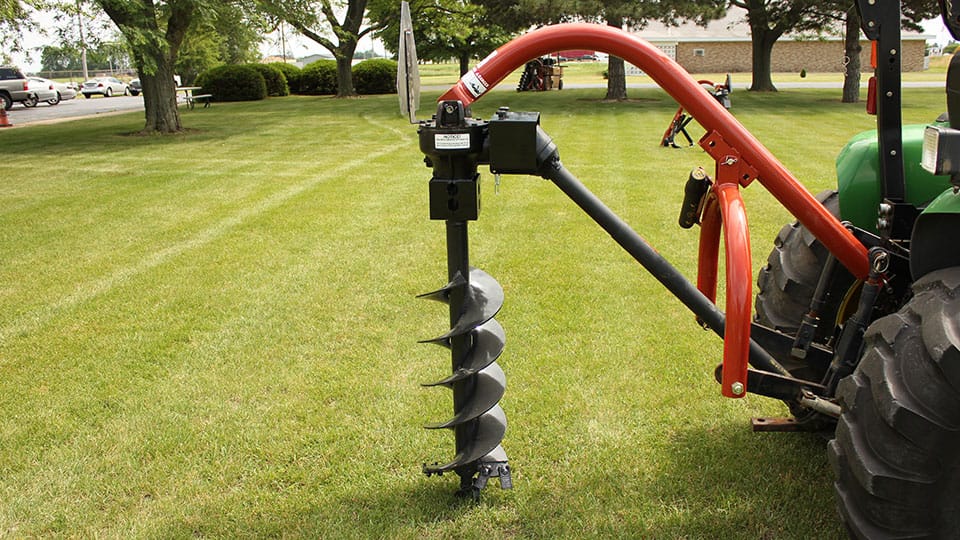
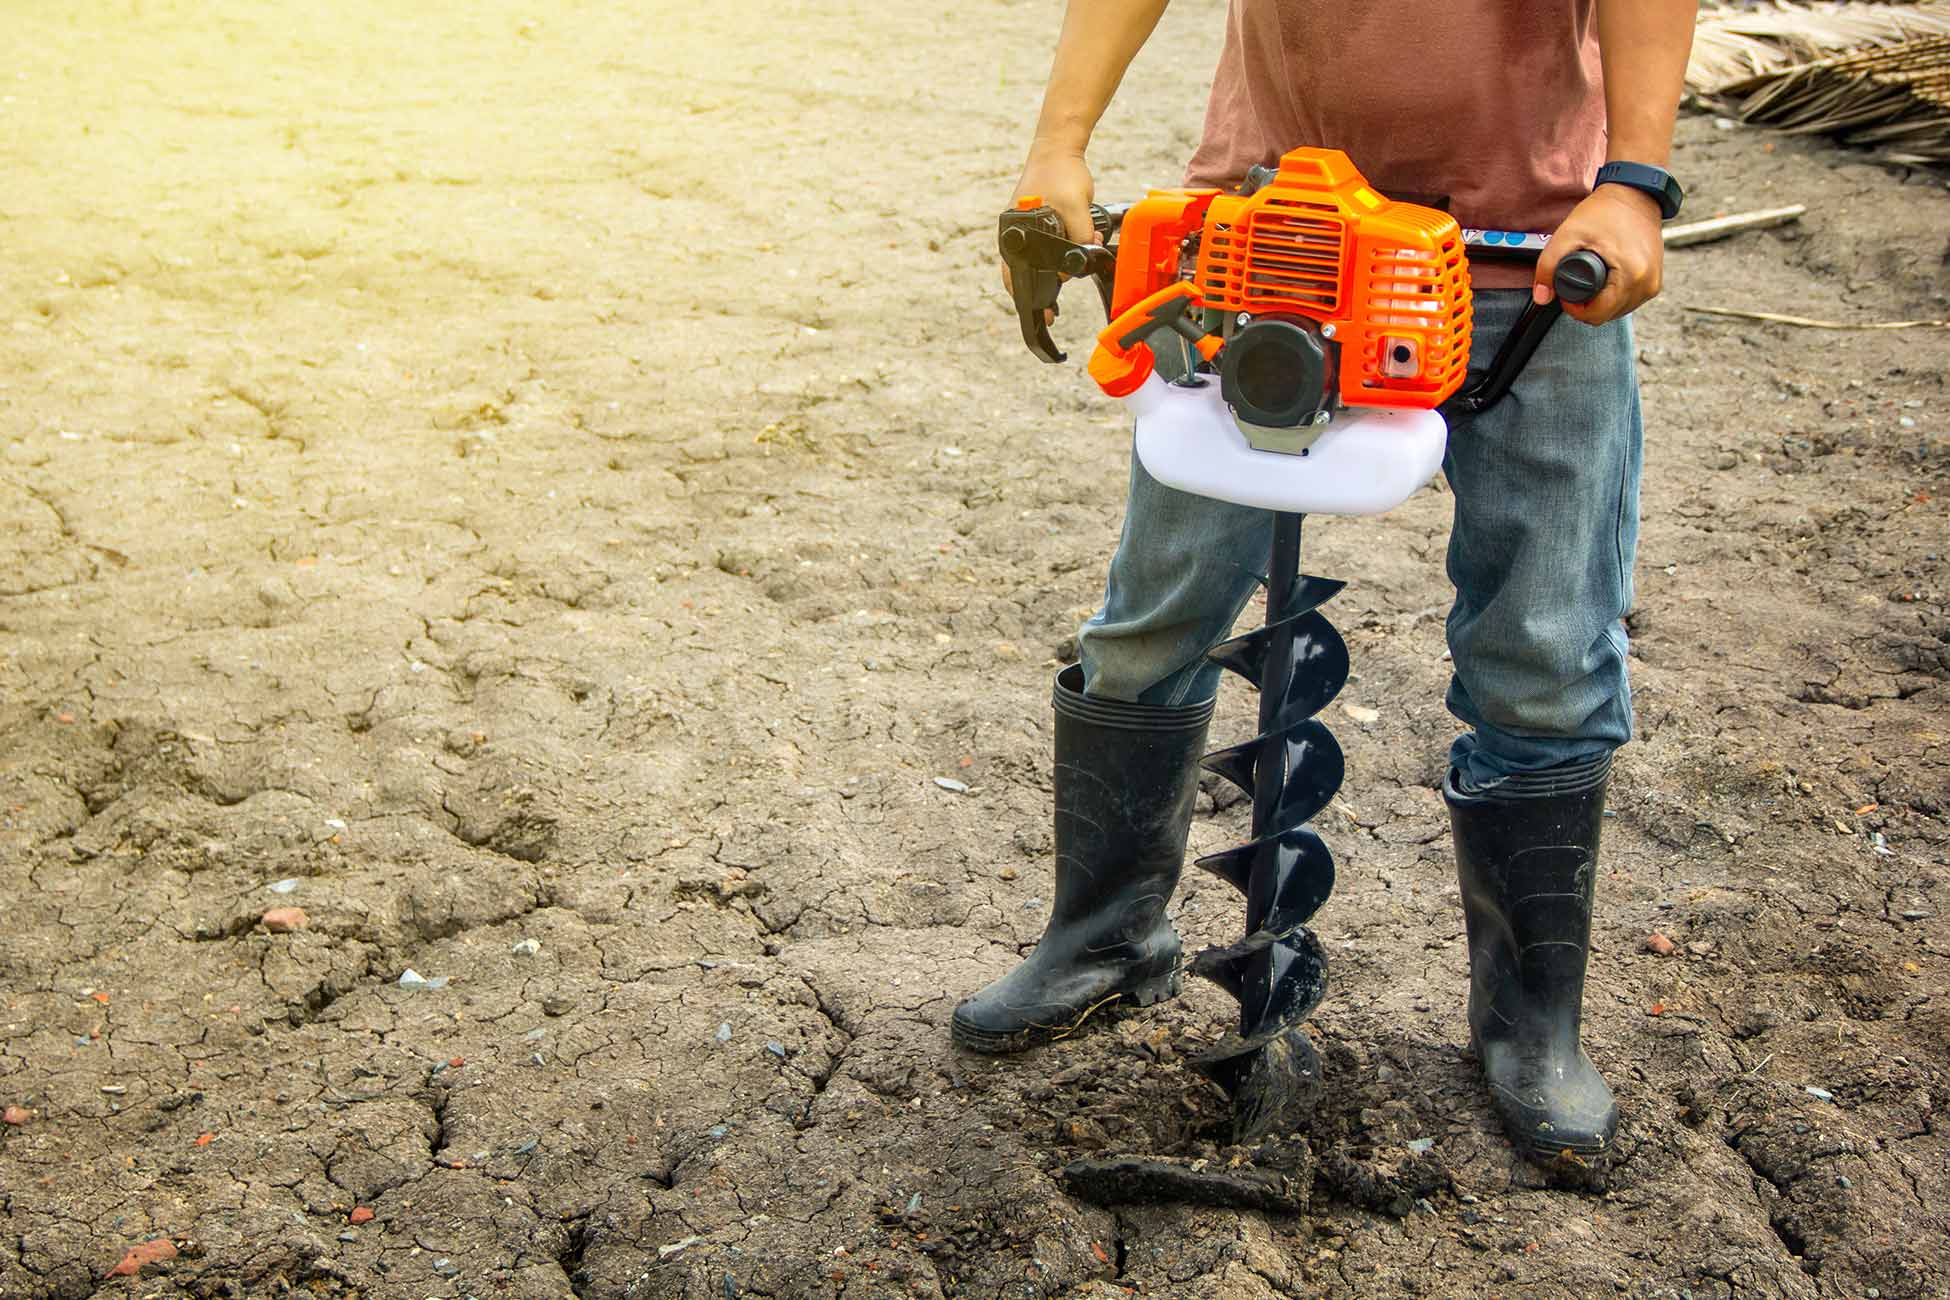
An auger is a tool used to drill holes into the earth or wood. Augers are usually powered by electricity or gasoline. They are also used to dig trenches, bore wells, and install pipes.
Augers are designed to drill through soil, rock, concrete, asphalt, and other materials. When they encounter something that gets in their way, they become stuck. This happens because the auger has hit something solid and cannot move forward.
In this article I’ll explain what causes auger stuck in ground, how to fix them, and when it’s worth getting a professional out there to help.
What Causes an Auger to Stuck?
When drilling, cutting, or scraping, an auger encounters something hard like stone, metal, concrete, etc.
The material gets caught on the teeth of the auger as it rotates. Once stuck, the only way to clear the obstruction is to pull the auger out.
The two most common reasons for an auger to get stuck are:
1.) Excessive torque – Too much force applied to the auger while rotating causes damage to the auger and prevents it from releasing from its position. It could also cause the auger teeth to break off.
2.) Dirt – Heavy accumulations of dirt around the auger teeth can prevent the teeth from penetrating the surface material which holds the auger in place. When the auger is no longer able to turn, it becomes stuck.
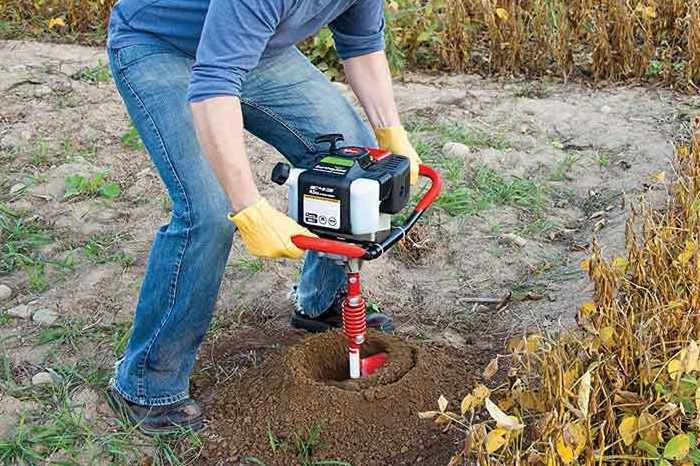
How to Remove an Auger That Has Been Stuck
Once you have identified the source of your auger being stuck, here are some steps to follow that will enable you to unstick and remove the auger.
Always Take Precaution:
Be sure and take precautions before attempting any DIY project to avoid injury.
Wear heavy duty footwear such as steel toe boots since dirt, debris, nails, sharp objects and hot grease can accumulate quickly.
Always wear eye protection – especially sunglasses – when operating heavy machinery.
Step 1: Back up
Make sure you back up to safety before attempting to remove the auger. Many accidents happen when people fail to put any distance between themselves and the equipment.
If possible, use a winch or tractor to lift the auger above the ground. If not, you may be able to roll the auger away from its resting spot.
Remember that if you end up pulling the auger backwards, make sure to keep enough slack in your rope or chain so that the auger does not drag you with it.
Step 2: Clean the teeth
Use a shovel or blade mounted with a long handle to scrape the debris from the bottom of the auger teeth.
It’s important to avoid damaging the teeth or cutting too deeply since sharp edges can tear the auger apart.
Step 3: Unbolt the auger head
Once the teeth are clean, unscrew the head of the auger.
You should be able to loosen it without having to apply excessive pressure. If the bolts are tight, a screwdriver or vise grip is needed to loosen them.
Step 4: Pull the auger out
Pull the auger out slowly and steadily. Do not jerk the auger.
Allow enough slack in your ropes or chains to allow the auger to slide free. Once it is pulled free, inspect the area where the auger went into the ground. Make sure that nothing got damaged during the removal process.
If you do need to replace the auger, take note of the manufacturer’s recommendations regarding size and type. You don’t want to purchase another model until you know that you’re purchasing the best one available.
5 Ways to Prevent an Auger From Getting Stuck
Preventing augers from getting stuck isn’t always easy but there are several ways to help you stay ahead of the game. Here are 6 strategies to help prevent this problem.

1. Check the condition of your auger
It’s important to look at the condition of your augers regularly and consider replacing worn parts. The main culprits are rust on the blades and other parts of the auger.
These areas tend to stick together more easily than the rest of the auger because they have fewer components attached to them.
Look for signs of corrosion including stains, pitting, and flaking. When you notice rust, take the time to fix it right away. Rust can quickly eat through metal.
2. Remove clumps of dirt
Clumps might seem like small things, but they actually cause significant problems for your augers.
They work their way down the blade shaft, making a mess all along the way. To try to remove clumps as you go, use a garden rake.
Also, try vacuuming your lawn when you mow it. This will reduce the amount of dust that settles onto the lawn and the grass that grows there.
3. Watch for obstructions
Before digging a hole, try to see if anything sticks up out of the ground. If so, then you’ll need to take care to make sure that item doesn’t damage or destroy your auger.
For example, tree roots often create serious problems for augers. Be aware of the locations of trees and shrubs, especially when planting new plants.
Also, keep watch for rocks, fences, poles, and other items that could become hazardous to your equipment.
4. Dig Slowly
Digging holes too deep or moving too fast can result in an auger getting stuck.
Slow down and dig smaller holes if possible.
Don’t expect to fully unstick an auger by simply removing the obstruction once you’ve dug it out of the ground. Instead, carefully pull the auger out while trying to minimize the friction.
5. Replace worn parts
You might not realize it, but even after decades of use, your mechanical parts still require maintenance.
For example, most augers come with replacement blades.
Check these regularly for wear. As soon as a part begins to show any sign of trouble, replace it immediately.
Auger Tools Required for Removing Auger From The Ground
When removing auger from ground, there are two very important things that you need to secure:
For Domestic Use
Rope or Chain: This is used to pull auger after auger and when you pull auger, rope or chain must be secured around your waist and legs (between ankles) so that other parts of your body don’t come in contact with chain or rope.
For Commercial Use
Rigging Pole: When digging holes for fences, driveways, roads, building foundations, etc., auger needs to move forward while digging hole. For this, auger has to be attached to rigging pole. When auger gets stuck, you will have to attach auger to rigging pole and then attach rigging pole to bucket or excavator.
Conclusion
In conclusion, it might seem like a simple task but a simple task can become problematic if you don’t take necessary steps beforehand.
A simple way to fix most problems is by just stopping and taking some time to think about what could go wrong before trying anything else.
By doing so, you won’t be surprised by your situation later on and will find yourself much better prepared. So, next time you run into issues with augers getting stuck, give these tips a try first!
