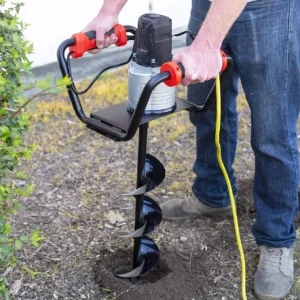
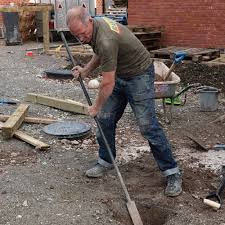
Digging a hole without a post-hole digger is not only possible but it can also save you money in the long run. If you are going to use concrete as the base material for your fence or planter then you will probably need to buy a post hole digger anyway.
However, if you are using wood as the base material then there is no reason why you should have to pay extra for a post hole digger.
You could even make your own post hole digger with a shovel and some scrap lumber. It might take a little bit longer than buying one but it would cost less and it would be much more fun!
In this article, we will show you how to dig a post hole without a digger. We will cover everything from getting started to finishing up. So let’s get started!
The first step is to make sure that you have all of the tools needed to complete the job.
The best way to do this is to click the link mentioned below and purchase them at once. This way you won’t forget anything and you will know exactly what you need when you start.
You will need a shovel, a pickaxe, a trowel, a wheelbarrow, a leveler, and a measuring tape.
- Shovel is used to break up the dirt and move it away from the area where you are working. It also helps to keep the area clean.
- Pickaxe is used to loosen the ground in order to create an opening for the post to go through. This tool is very important because it makes work easier.
- Trowel is used to smooth out the bottom of the post hole so that it is flat and ready for the post to sit on.
- Wheelbarrow is used to transport dirt and other materials from place to place.
- Tape Measure is used to help you measure the distance between two points.
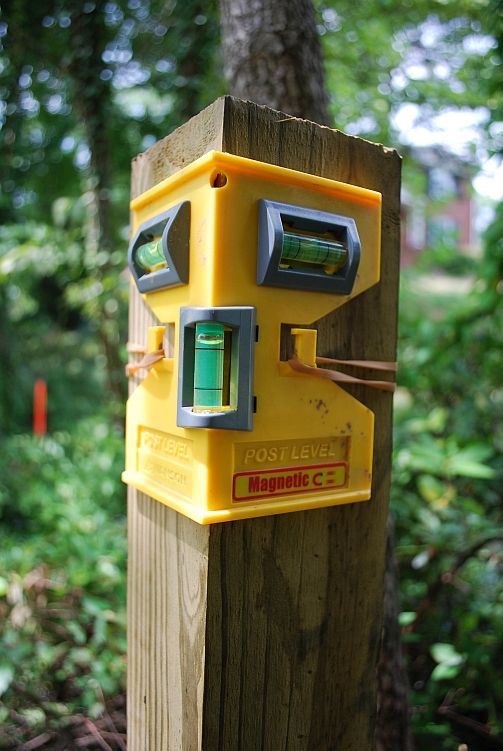
- Post Hole level to ensure that the post is perfectly horizontal.
Now that you have all of these items, you are ready to begin digging the post hole.
Step 1: Get Started
The first thing you need to do before you start digging is measure the width of the area where you want to place each post.
This way you know exactly where to put them when you finish digging. This is usually done by marking off the spot using a measuring tape.
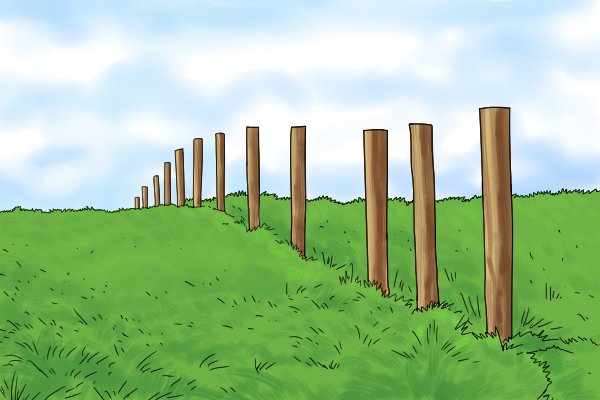
Start by marking off the distance between two stakes that are at least four feet apart(depending on your choice). Then mark off another line that is perpendicular to the first line.
This second line represents the width of the hole that you are creating. Once you have marked off the spot you must dig a hole large enough to fit around the post.
Step 2: Start Digging
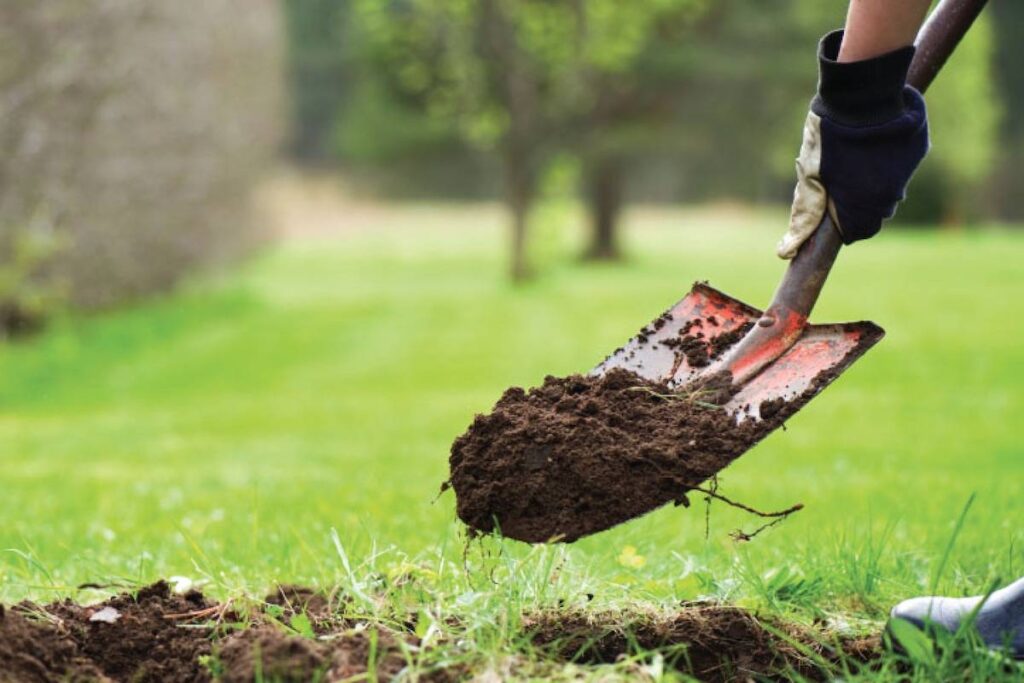
Next, take your shovel and begin breaking up the soil. The goal here is to remove any rocks or debris that might damage your post.
When you are finished breaking up the soil, use your shovel to scoop up the loose soil and move it over towards the side of the hole.
Use your pickaxe to loosen the soil so that it can easily be moved. Once you have loosened the soil, use your wheelbarrow to bring it back over to the edge of the hole.
Repeat these steps until you have removed all of the soil from the area.
Step 3: Fill In The Area
Now that you have dug out the entire area, fill it back in with fresh soil. Make sure that you pack down the soil well so that it doesn’t settle later.
Use a trowel to smooth out the bottom so that it looks new. You should now have a nice, flat surface that is ready for the post to rest on.
If you would like to add more weight to the soil, you can add sand or gravel. Just make sure that you mix it evenly throughout the whole area.
Step 4: Measure And Mark Off The Spot For Your Posts
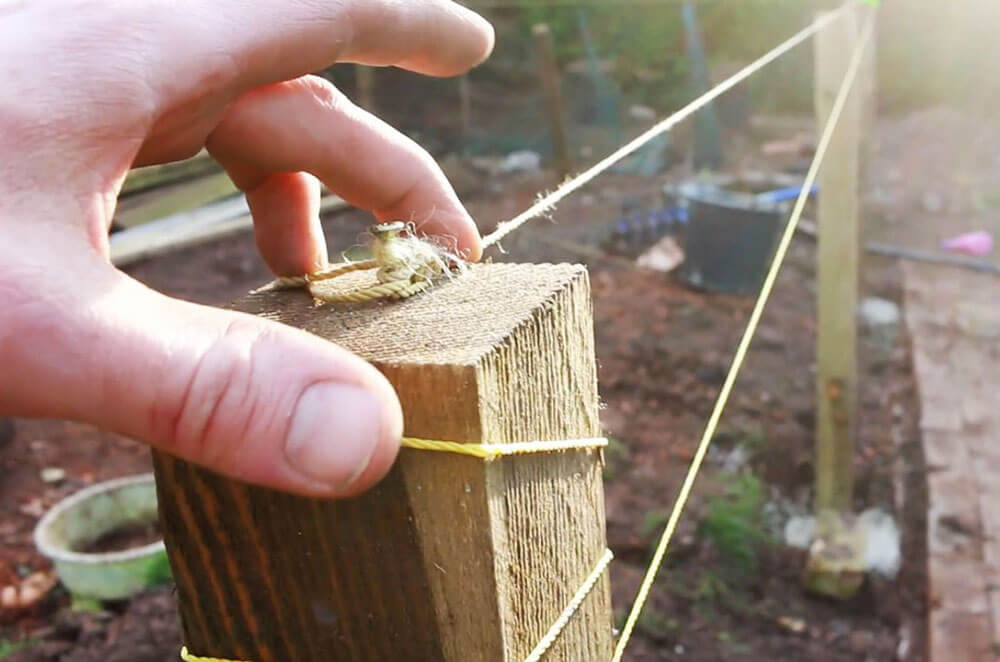
After you have filled in the area, you need to measure the height of the top of the hole. This is done by taking a piece of string and tying it to the bottom of the post. Use your measuring tape to measure the length of the string.
Then, tie the string to the top of the post. Now you should be able to see the exact location of the post.
You can now cut the string and mark off the spot where you want to plant your next post.
You can also mark this spot using stakes or paint. If you choose to use stakes, make sure that they are spaced far enough apart so that they won’t interfere with each other.
Step 5: Planting The Post
To ensure that the post sits evenly, you will need to level it. Use a level to make sure that the post is perfectly vertical. If it isn’t, adjust it accordingly.
After leveling the post, place it into the hole. If you notice that there is still some space left at the top of the hole, add more soil to cover it up.
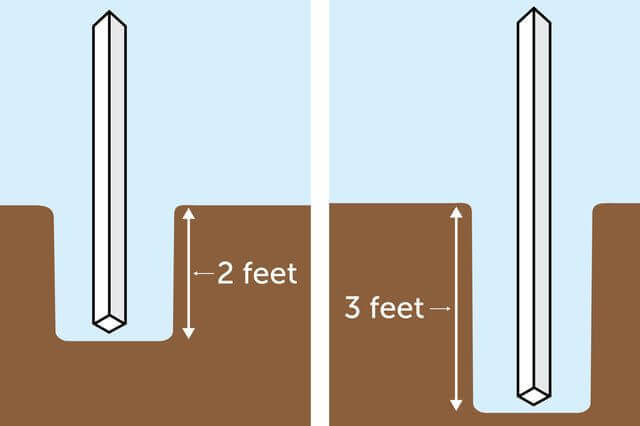
When planting a post, make sure that it is planted deep enough to hold its own weight. If you plant it too shallow, it may not last as long as you expect.
Also, make sure that the post is firmly planted into the ground. If it isn’t, it could cause problems later on.
Step 6: Finish Up
Finally, once you have finished filling in the hole, you need to tamp down the soil.
Tamping down the soil helps to ensure that there are no air pockets under the surface of the soil. This prevents water from getting trapped under the surface.
Make sure that you leave some room between the posts so that you can still access them. This allows you to replace broken or damaged posts.
If you want to keep the soil around the base of the post clean, you can use a spade to scrape away any excess dirt.
Don’t forget to remove any weeds before you finish!
And that’s how to dig a post hole without a tool. Hopefully, this guide has helped you learn how to do it properly. Let us know your thoughts in the comments below.